
Ski Waxing 101
Posted by Kirsten on 2022 Feb 11th
Waxing skis sounds simple enough but if you’ve never done it - or even observed someone else do it, you may be like I was a couple years ago: totally and completely clueless. You have a general concept of what happens but suddenly your ski buddy starts talking about his garage set up with an iron and suddenly - you are lost, drifting to another powder filled world in your head, aimlessly nodding along to his story - pretending to be the ski expert you thought you were. After all, you grew up skiing. But you never associated ironing clothes with skis.
This post aims to demystify the ski waxing process. Right off the bat, let’s clarify that you will not be using the clothes iron that’s currently stuffed in your linen closet. There are specific ski waxing irons!
Honestly, it’s not so confusing once you get into it… unless you really get into the nitty gritty. Let’s leave that technical discussion for another day. Today, let’s have a simple ski waxing 101 chat.

With a well waxed ski, you'll be happily cruising through the backcountry in no time - just like Darren Emenau.
Why we should wax our skis
Whether you ski downhill or cross-country, waxing your skis has significant benefits. Wax reduces friction between your gear and the snow. Giving your skis a regular coating of wax helps you glide faster, turn easier and increases the life of your skis by protecting them from drying out. Basically, it makes skiing more enjoyable.
What exactly do you wax?
A glide wax is applied to the entire base of Alpine, Skating and Backcountry skis but only to the tip and tail zones of classic cross-country skis, including “waxless” skis. We have a whole other post coming about the true definition of “waxless”.
In this post, we are focusing on glide wax but if you have cross-country skis, you’d also be applying a kick or grip wax to the kick zone (“about 6 to 8 inches (15 to 20 cm) in front of your foot to the heel” 2, as shown in the video below.
How often should you wax?
The number of times you wax will vary depending on how often you ski and the conditions you are enduring. For most recreational skiers, a melted wax 1-3 times will get you through a season. We recommend having your skis professionally tuned (waxed and sharpened) at the beginning of each season, at minimum. It’s common to keep a liquid spray wax or rub-on wax in your ski bag to apply before each outing. Take a look at your base after each ski. If it looks dry or white and flakey, it is due for a wax. A well waxed ski should shine.
Types of Wax
There are an overwhelming number of different waxes to choose from. Modern ski waxes are petroleum and paraffin based as well as made from complex synthetic mixtures but plant-based waxes also exist. For most of us, a universal wax will be the go-to but here is a quick guide covering the main wax types.
Universal waxes
This is where you will likely want to start - and perhaps stick with. A universal wax will work just fine in all temperatures and conditions. If you live somewhere with varying temperatures and conditions (i.e. the Maritimes), a universal wax will get you the best results with the least amount of hassle.
Temperature-specific waxes
The majority of glide waxes are going to be temperature-specific, with an outdoor temperature listed directly on the packaging. Typically, this temperature range is referring to air temperature. You can get fancy and blend a couple of different temperature-specific waxes to customize it. This is something you’ll have to experiment with - and this would mean you’ve reached the ‘nitty-gritty’ level of waxing.
The temperature options are usually:
- -12°C to -6°C
- -8°C to -2°C
- 4°C to -4°C
- 10°C to 0°C
While there is no risk to damaging your skis if you use the wrong temperature wax - you may experience performance loss. If in doubt, you are better off to opt for a colder wax.
Rub-on or Liquid Spray Waxes
A rub-on wax is something you would keep in your ski bag and apply in the parking lot before your ski day. It typically comes in the form of a block or a deodorant-like container.
A liquid spray wax is best applied before you head out for your day, as it needs some time to completely absorb and dry into the base, before you can use a cork to buff it. This does not replace a hot waxing - but it will help with maintenance and a quick on-the-go wax.
Fluorocarbon and Alternatives
The waxes listed above are all hydrocarbon waxes “which means they are simple paraffin waxes mixed with oils and synthetic hardeners. They are very economical and are really good at repelling dirt.” 3 In the past, if you wanted to step it up and glide faster - you may have reached for a wax that contains fluorocarbons. Fluorocarbon waxes are known for being better at repelling water, which results in higher speeds. The catch? It’s more expensive, can be more difficult to apply and most importantly: it’s not a great choice for the environment or your health.
“For generations in the ski industry, the best kinds of wax generally included fluorocarbons, which are synthetic chemicals with significant environmental and health risks.”7 Read more here.
Long story short, it’s best to avoid fluorocarbon wax - they’ve actually been banned by many organizations. The good news is there are alternatives and companies, like Swix, are pivoting to create more eco-friendly options. However, for most of us, we don’t need a hundredth of a second advantage that a competitive quality wax may offer.
If you want to learn about even more types of wax, (there are plenty), check out this article.
The Space
The ideal space to wax your skis is on a workbench, in a well ventilated area with temperature control. If your space is too cold, the wax may harden too fast and won’t absorb properly into the ski base.
The Tools
These are the essential tools needed to wax your skis.
- A Vice
- Clean Cloth
- Rubbing Alcohol
- Ski Waxing Iron
- Glide Wax
- Plastic Scraper
- Pencil Groove Scraper (Nordic Skis)
- Nylon Brush
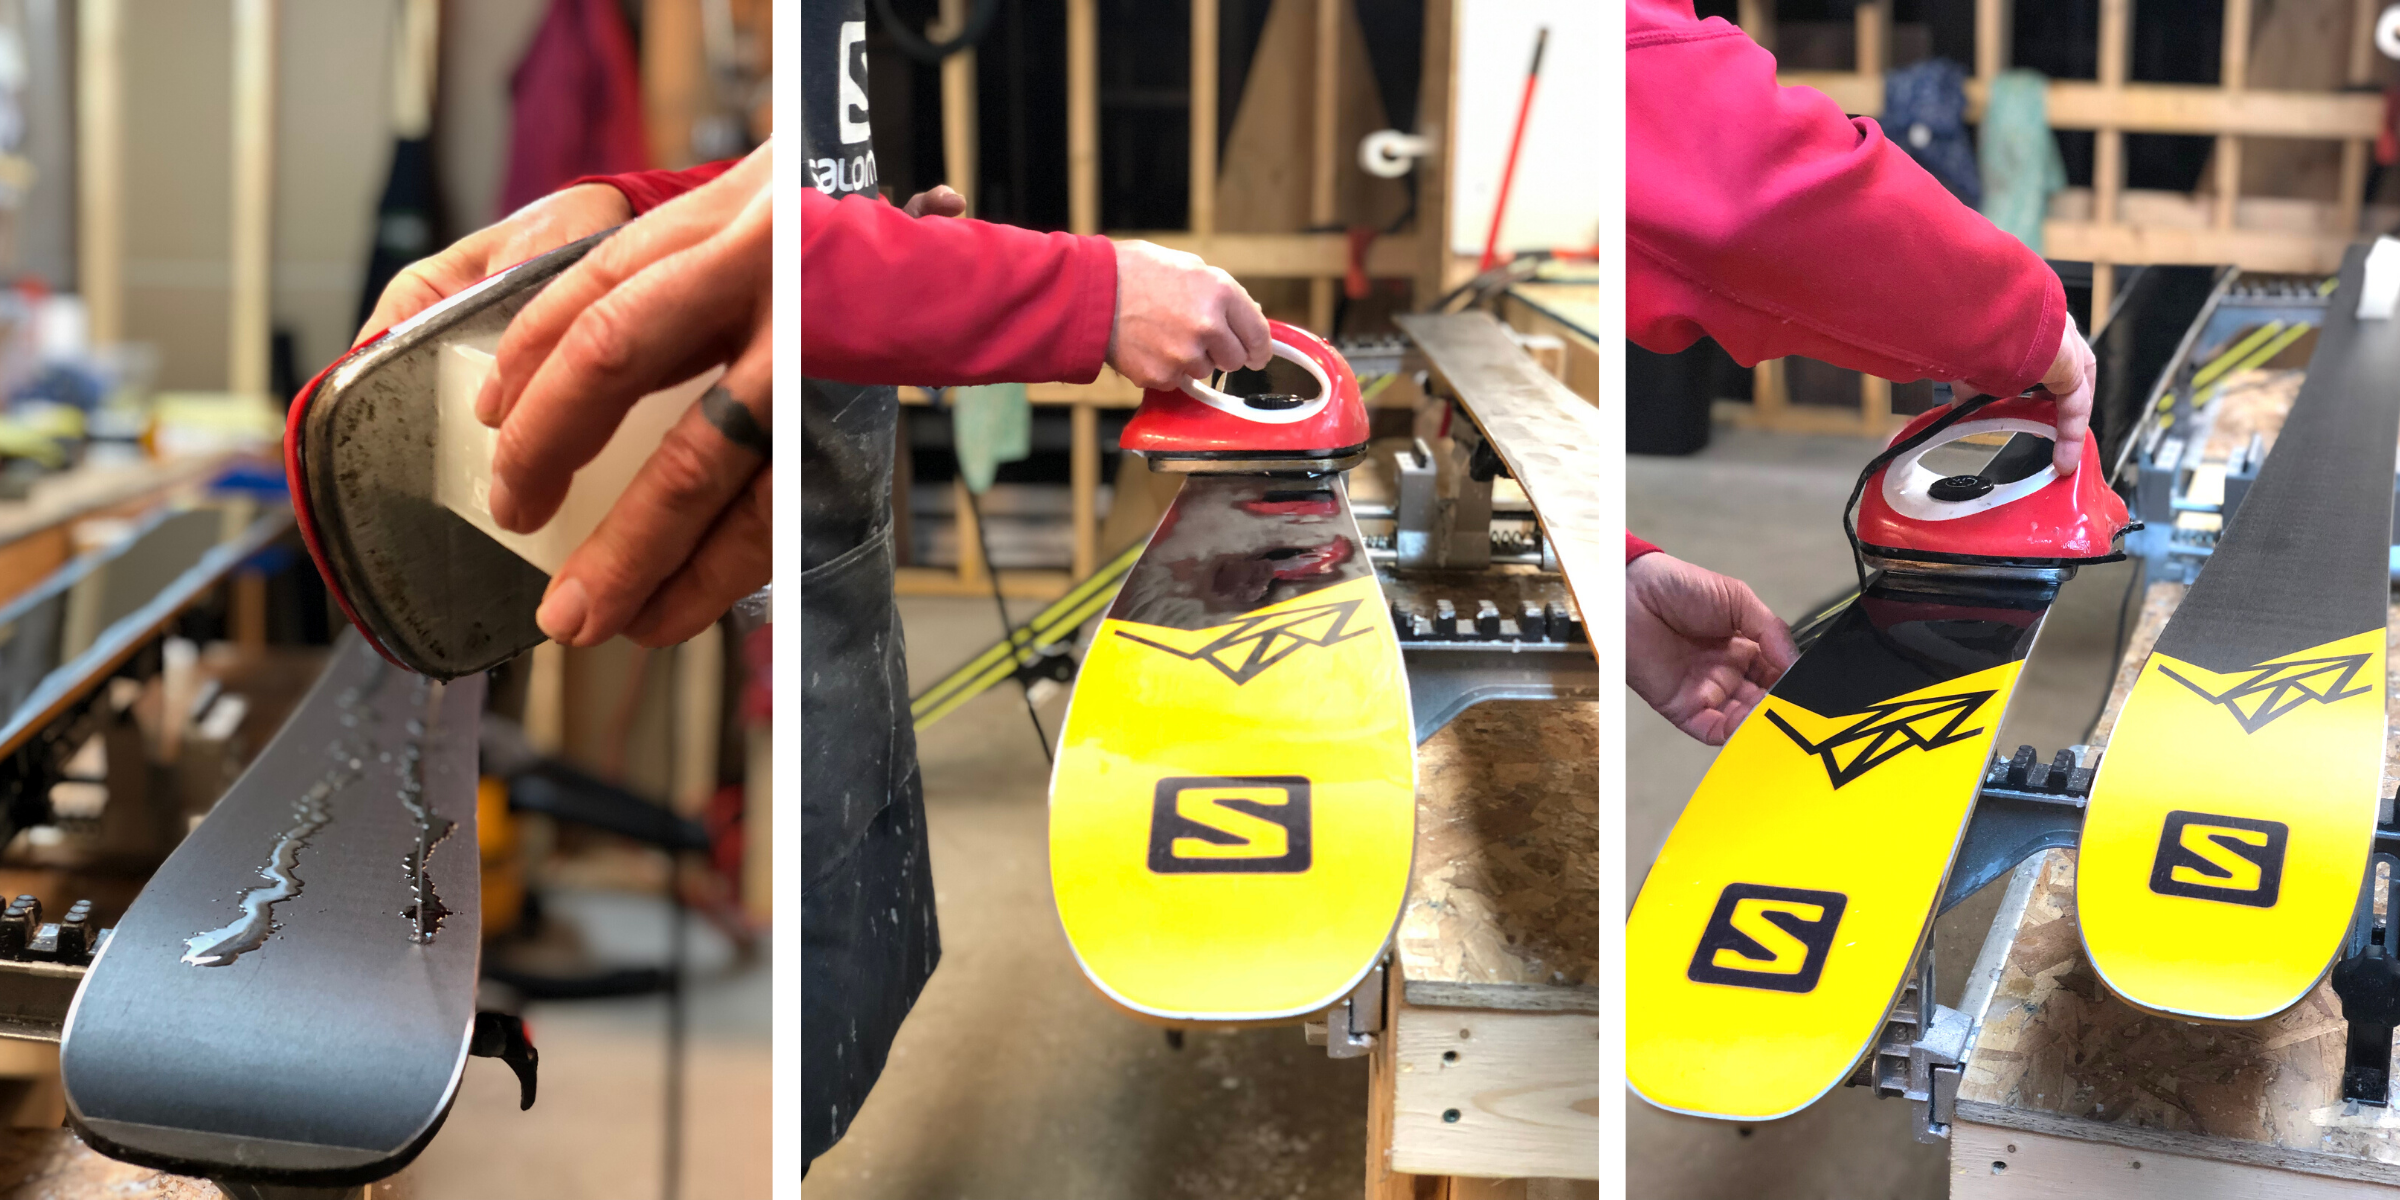
Melting and applying glide wax to a ski base requires a Ski Waxing iron as it is temperature controlled to avoid damaging and blistering your skis.
HOW-TO WAX YOUR SKIS: A Step by Step
The Prep
- Set your iron to the recommended temperature (refer to your wax packaging). It should be hot enough to melt the wax but never so hot that the wax is smoking.
- Fasten the ski brakes with tape or a large rubber band.
- Flip the skis and clamp them to your vice so they are secure.
- Brush your skis 2-3x to clean off any noticeable dirt.
- Wet a cloth with some rubbing alcohol and wipe off any remaining dust or debris.
The Wax
- Holding the iron a few inches above the ski base, press the wax block to your hot iron to melt the wax over the ski as you move up and down the ski base.
- Press the hot iron to the ski base, moving steadily, to spread the warm wax over the entire surface - edge to edge and tip to tail. Once you can feel warmth on the other side of the ski, with your hand - your wax is set.
- Leave your skis to completely cool and dry (inside) for 45 minutes to 1 hour.
The Finishing Touches
- Working from tip to tail, use a plastic scraper to scrape off the excess wax. You want to remove as much visible wax as possible so a few passes are likely required.
- Scrape the metal edges of your skis as well. It is common for plastic scrapers to have a small notch to perform this step.
- Brush the ski base several times, moving firmly in one direction across the length of the ski. There are different brushes to choose from but a stiff, nylon brush is a great choice.
- Clean the surface with a clean cloth.
- Once your ski base is shining, your job is done.
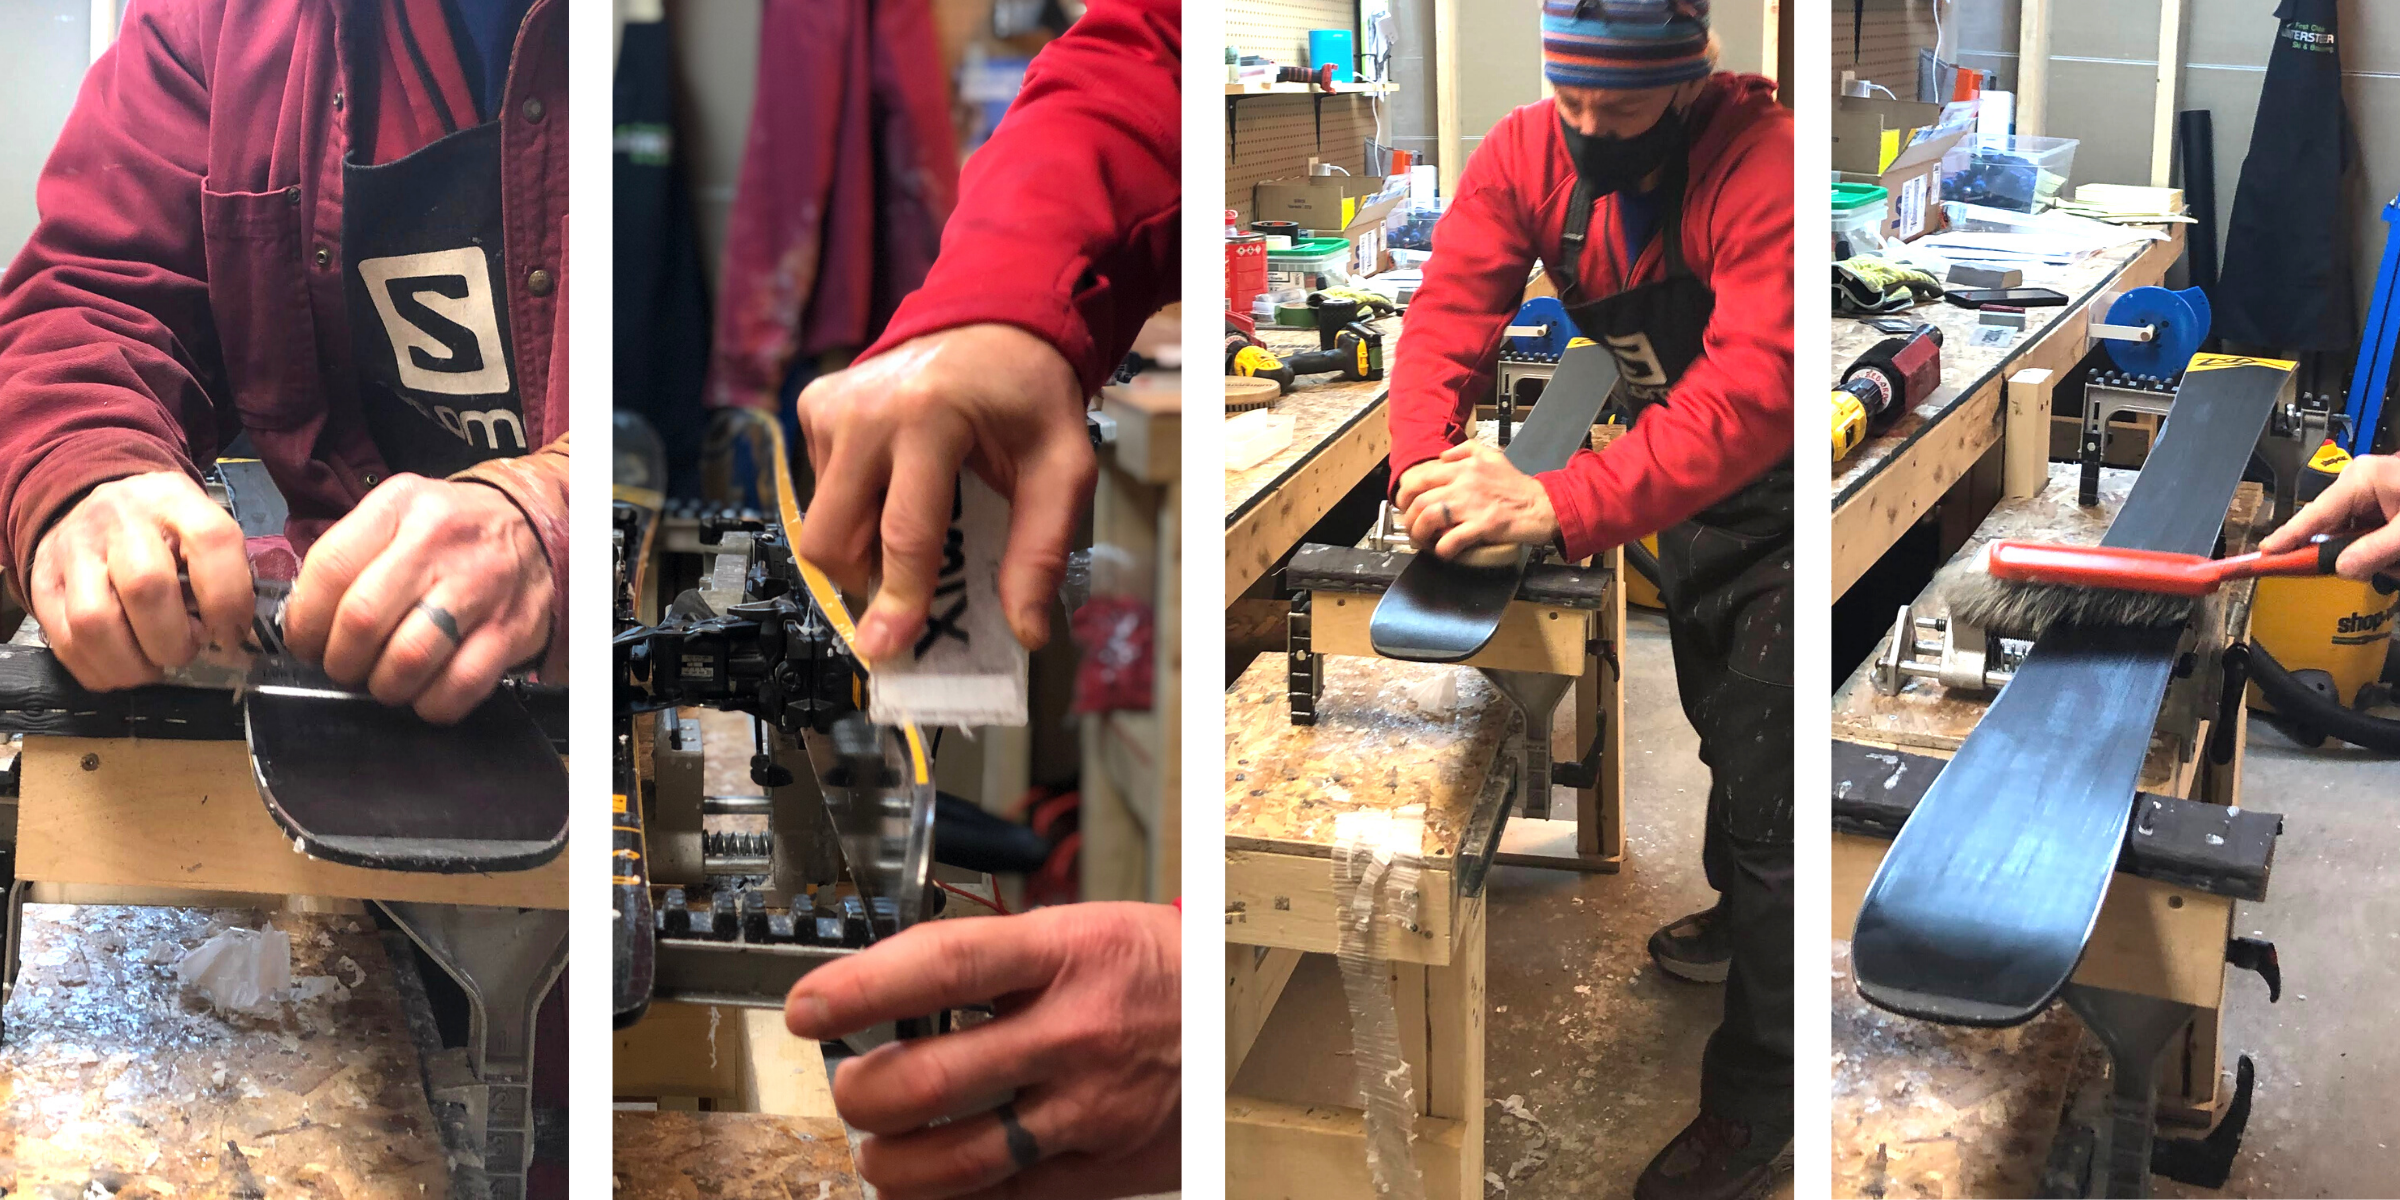
When waxing your skis, you end up scraping off nearly all visible wax that you applied. The goal of waxing is for the wax to be set in the porous structure of the ski base. Shown above, Shawn Bethune, (Ski Tech at River & Trail Outdoor Co.), is using a plastic scraper and brush to remove any excess wax and clean the base.
Wax on, young grasshopper
Learning to wax your skis can seem daunting at first but with the right tools and a bit of time to practice, you’ll be feeling confident and skiing smoothly in no time.
If you’re ever unsure if you should be tackling your own ski tune or not - be sure to read our post “ Ski Tuning: When to DIY and When to Take it to a Pro”.
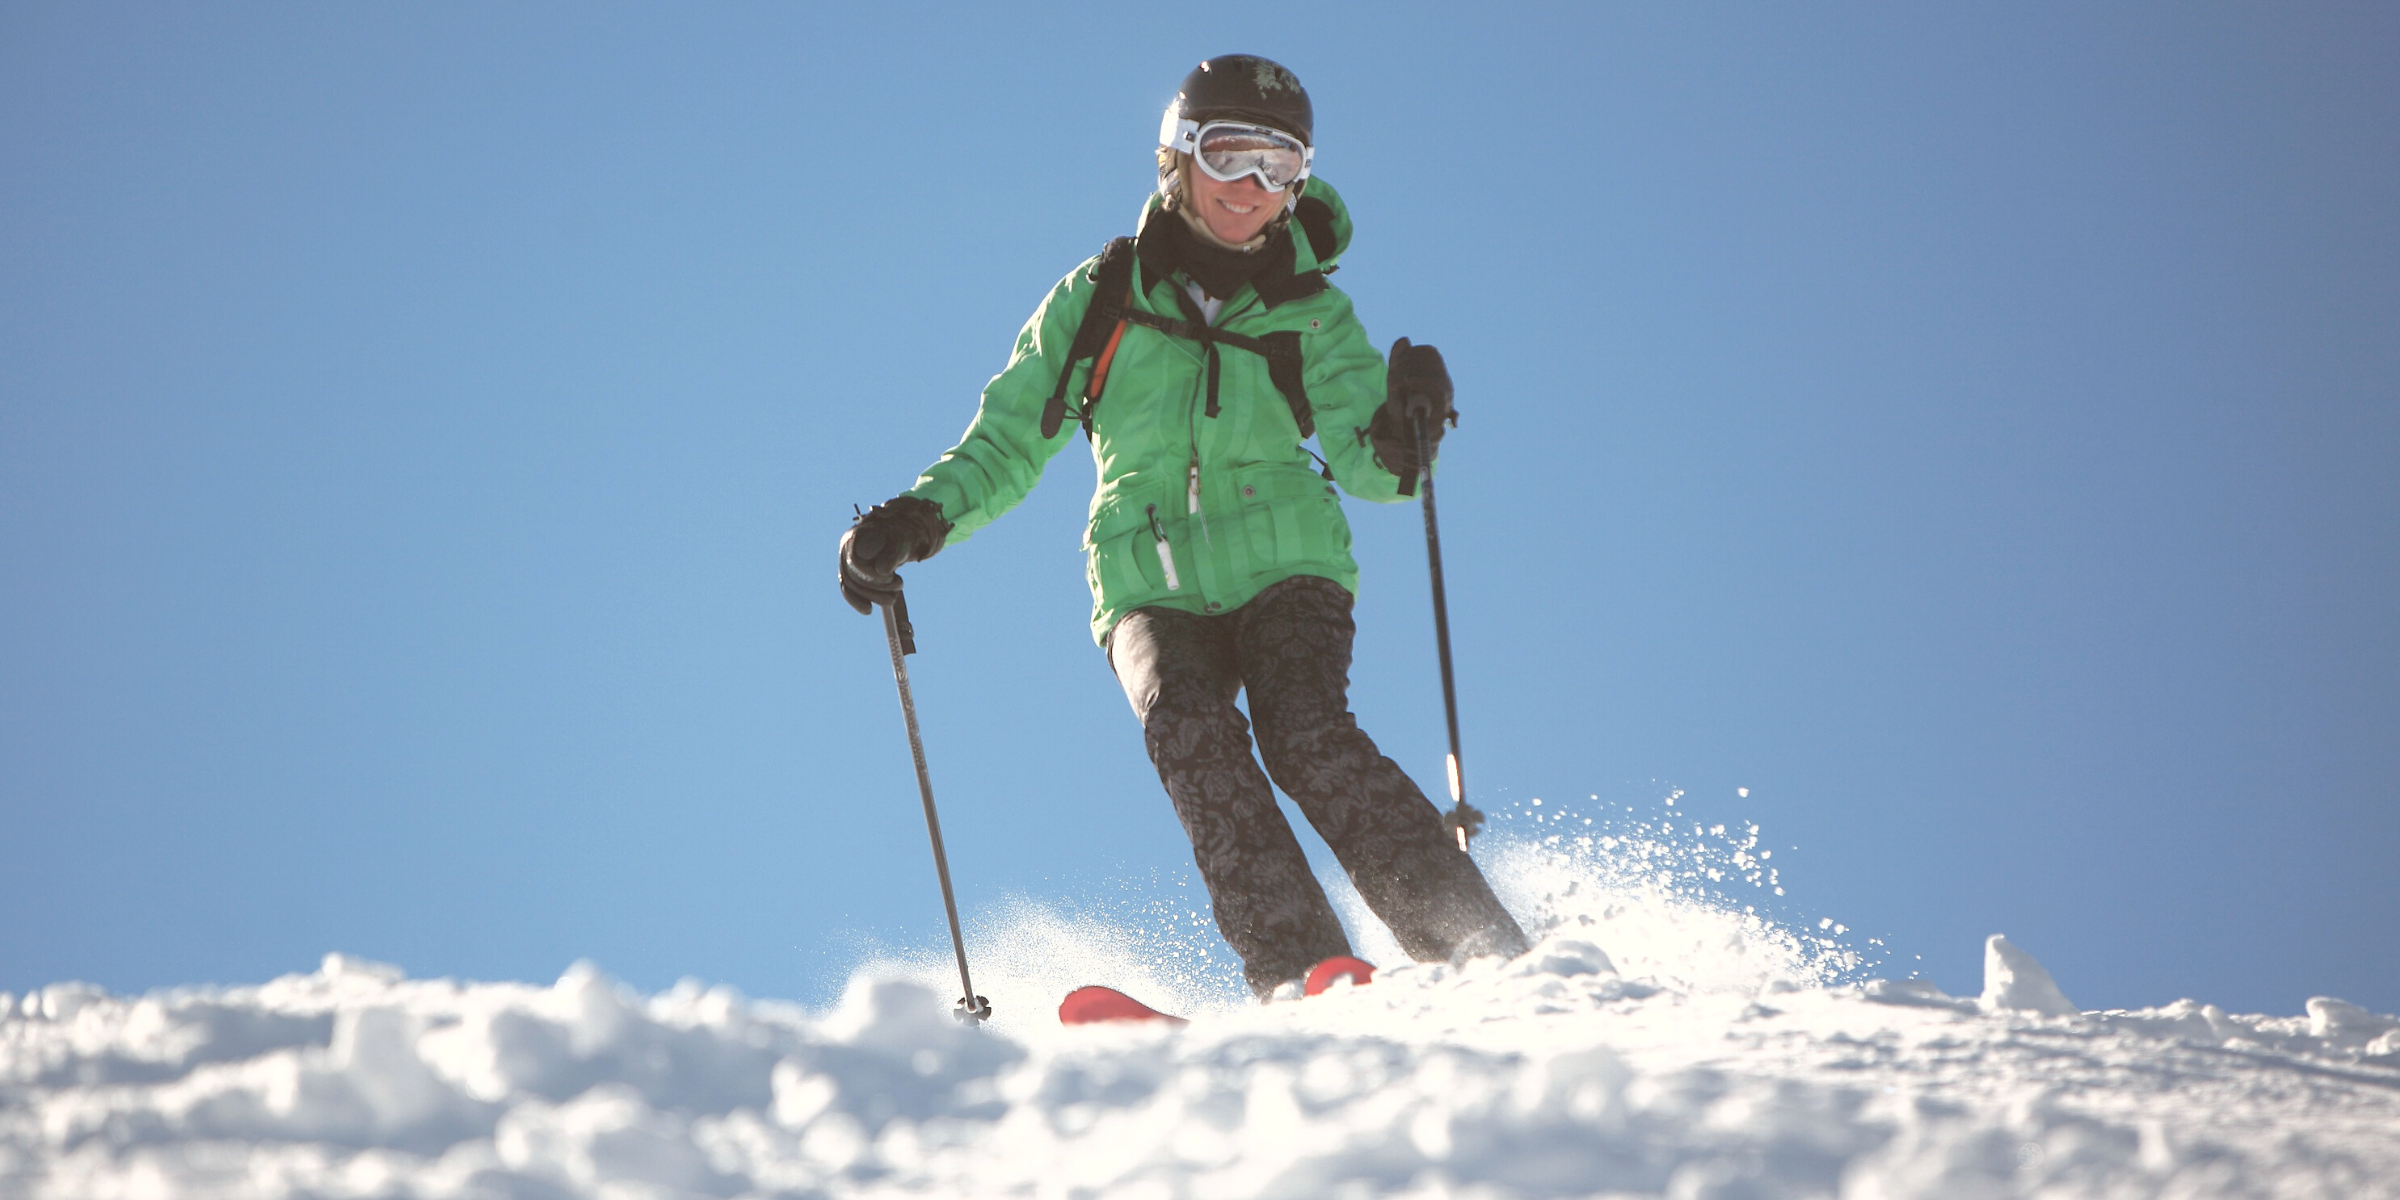
Look how happy you'll be gliding down the slopes, with your nicely waxed skis.
REFERENCES
- https://www.rei.com/learn/expert-advice/glide-waxing-skis-snowboard.html#:~:text=For%20recreational%20skiers%20and%20boarders,waxes%20for%20the%20greatest%20glide.
- http://xcskiing.ca/wax-guide.html
- https://snowgoing.com/ultimate-guide-to-ski-snowboard-wax-types-and-methods/
- https://newtoski.com/best-ski-wax/
- https://www.swixsport.com/en/tips/swixschool/nordic-recreation/kick-wax-application/
- https://www.swixsport.com/en/tips/swixschool/nordic-racing/apply-glide-wax/
- https://www.summitdaily.com/opinion/columns/ask-eartha-pick-an-eco-friendly-ski-wax-this-season/
- https://www.powder.com/stories/environmentally-fri...