Preparing for Multi-Day Hiking
Posted by Taryn Giles and Guest Author, Gary Hyslop on 2021 Oct 4th
Preparing for Multi-day Hiking
Preparing for multi-day hikes doesn’t need to be an arduous task but it does require some research and attention to the details. Successful backpacking involves preparing for the worst while hoping for the best. Consideration for everything that might go wrong is the only way to properly prepare for difficult and potentially dangerous situations. This is not to say that you must bring everything but the kitchen sink, but a few well-chosen pieces of gear and a little common sense goes a long way.

Trip Planning- Research
This is the topic that probably doesn’t get the attention it deserves. It’s important to research the area you are going to be backpacking in. Do you need any permits? If you are hiking in a park, what are their hours? What kind of wildlife might you encounter? What should I expect and what are the potential challenges? I often hear people say they are “just doing the Footpath”. Just because its local doesn’t mean it shouldn’t be researched. The Fundy Footpath is so often underestimated in both difficulty and beauty. In fact, the footpath is one of the more challenging backpacking hikes in North America. It’s very strenuous, remote and involves both river and tidal crossings. In addition, it’s coastal so weather can change rapidly, and fresh water sources can be difficult to find during dryer conditions. It’s also important to plan when you want to go and carefully consider temperatures and weather patterns that tend to occur during this time. It is in this phase of planning that topography should also be researched. It’s not only important to assess the overall distance you plan to travel but the elevation gain as well. A hiking time calculator like the one at trailsnh.com/tools/hiking-time-calculator.php can be a great tool to help gauge the additional time needed when tackling elevation gain. This site refers to Naismith's Rule which roughly estimates19½ minutes per mile, plus 30 minutes for every 1,000 feet of ascent. Consider this calculation on relatively easy terrain and adjust for more challenging hikes. This type of information should guide your decision making in terms of training, gear selection and duration. When deciding on the training needed it is important to do an honest self-evaluation on your fitness and skill level. By this point you have an idea how easy or difficult the trail might be and how much time you have in order to develop the skills and endurance needed to succeed. Being physically (and mentally!) prepared is not only much safer, but it also makes the hike much more pleasant and satisfying. Just because your friend did it in flip flops doesn’t mean you should!
- Research
- Evaluate
- Prepare
Communications and Bail Outs
So, once you’ve established the broader picture of what your trip might look like in terms of the physical aspects, potential weather threats, and duration you can move on to more detailed planning. In this phase of planning, you want to look at your maps and guides and begin to establish emergency bail out routes. Discuss this in detail with the person you’ve asked to be your emergency pick up and be sure they know where the access roads are and that their vehicle can get to the location. The access roads to the Fundy Footpath for example, can be very rocky and a truck is needed since a car simply does not have enough clearance. If you’re travelling to do your hike, then local tour operators may be able to help with emergency bail outs. They often provide shuttle services if needed and can be a great resource in establishing good bail outs in areas that are unfamiliar to you. Local outdoor retailers can also provide a lot of information (which I suspect is what got you to this post in the first place). At this point you’ll also want to discuss your communications. Cell service cannot be relied on in more remote locations so perhaps a satellite communicator is the safest option. If using a device like this, let your contact know when to expect communication from you and in what form. Some can do two-way communication while others can only send pre-scripted messages. Make sure your contact understands this and what to do if you don’t check in by the pre-determined time. Once your itinerary is developed, you’ll also want to be sure your emergency contact has a copy and leave a copy under the drivers-seat of your car
Completion of a trip as planned should not be considered the measure of its success. Don’t succumb to peak madness. Choose your companions wisely and make decisions as a group. Consider everyone’s abilities when trip-planning. The least fit person in the group has the final say in whether to go forward or turn back. Be honest with yourself if you are that person and speak up if something is outside of your ability. There is no shame in it. Talk about individual limitations in advance. Do adventures with people who are more fit than you are whenever possible! Group dynamics can make or break a trip so don’t ignore this part of the preparation. Your best buddies and your adventure buddies are not always one in the same and that’s ok!
- Establish emergency exits and strategies
- Prepare an itinerary
- Choose and know how to use communication devices
- Don’t rely solely on cell service
- Communicate everything to your emergency pick up person
- Choose your hiking partners wisely

Emergency Preparedness
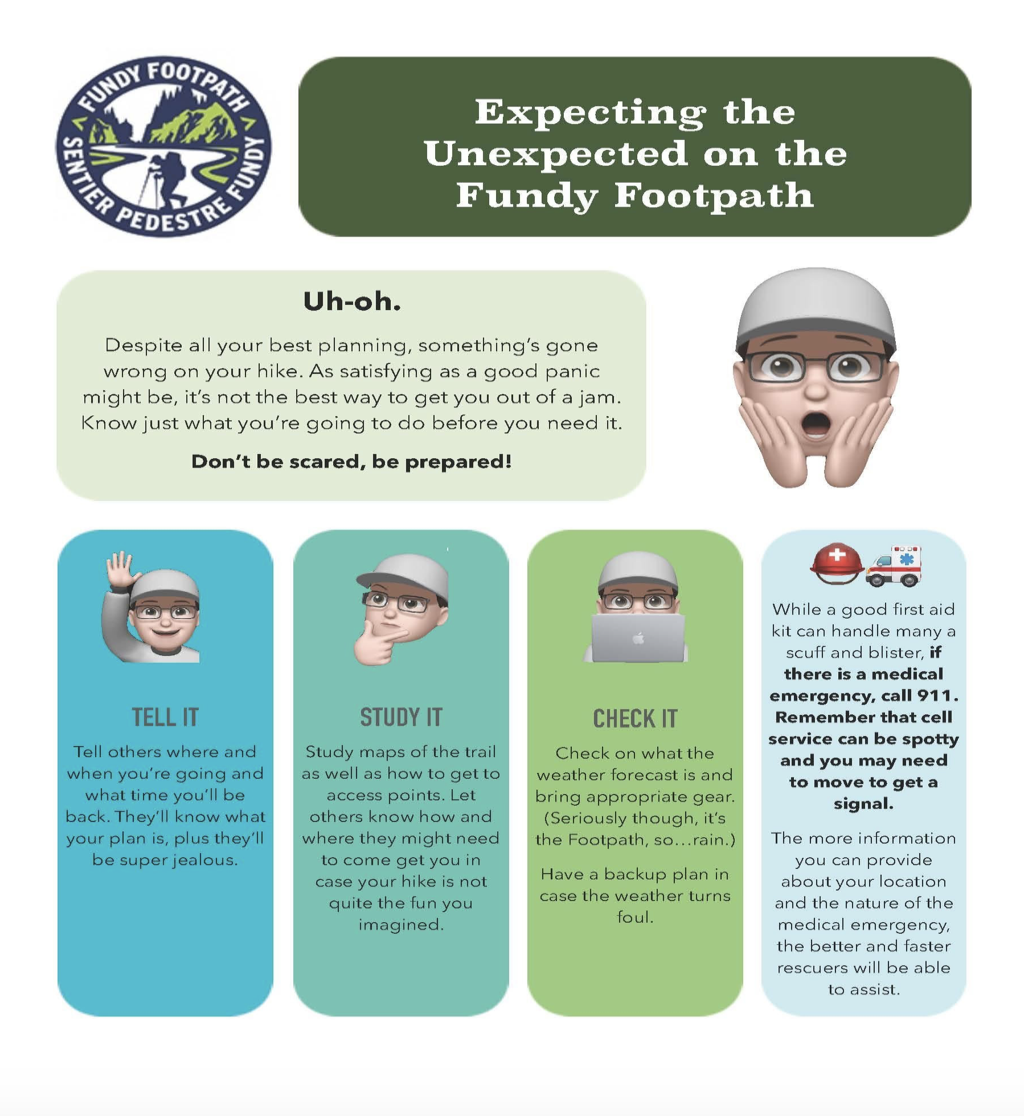
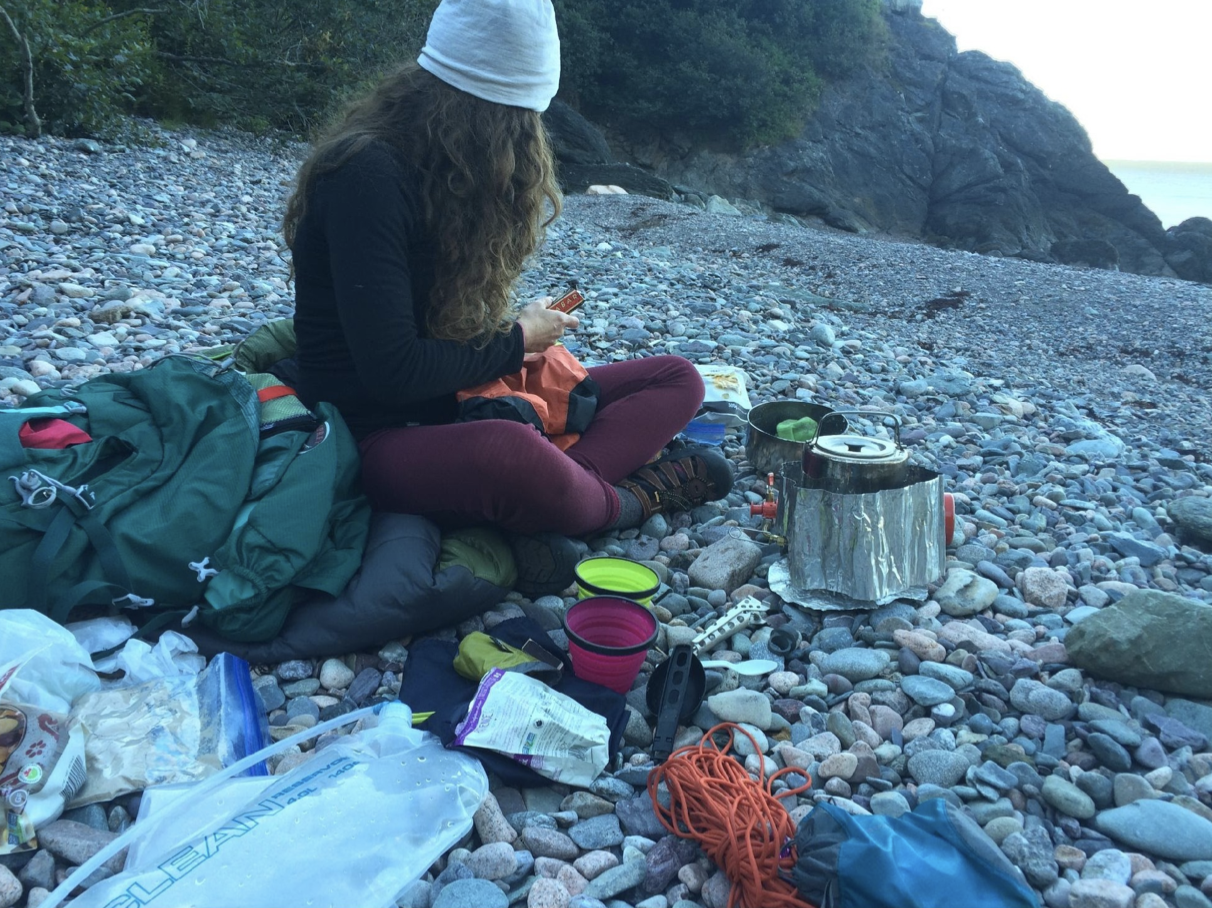
So, by now you have established an Itinerary and have planned your escape routes should the unexpected happen, but you should also be equipped to handle an emergency on the trail. Is your first aid certification up to date? Have you stocked a first aid kit and included all the essentials? Of course, accidents happen, and we can’t possibly predict when and where but we can do our best to plan for them. If an accident does happen it’s important to remain calm. Take a few moments and assess the situation. Do you need emergency services, or can this be managed on the trail? 911 receives a lot of calls from distressed hikers that are non-emergent. This is hard on the system and takes the care from others that might need it. This is not to say don’t make the call if you feel you need but make an honest assessment first. The remote nature of the trail can make any situation feel much more daunting and scarier but treating a wound on the trail is not only possible, it is often the best option. During a trip I took on the footpath I sustained quite a severe burn on my ankle after spilling a kettle of water that was at a full boil. There was definitely some language I wouldn’t repeat here. I can still remember the fear of removing my sock and sandal (which included an ample amount of my skin), but I was able to stay relatively calm and assess the severity of the situation. Since we were at camp for the night, I took the opportunity to treat the wound and wait until morning to decide if I could continue or if we needed to make our way out for an early pick up. My first aid kit was well stocked, and I was able to clean and redress the wound often, so we completed the trip. This is the optimal ending which is certainly not always the case. It would have been easy to panic since the initial injury was painful and honestly, kind of gruesome (I have pictures if you aren’t squeamish) but by giving myself and my hiking partner a little time to assess we got out safely and still had a tale to tell. Thankfully it didn’t involve search and rescue or helicopters. (There is a great video that shows just how much time and effort goes into a search and rescue operation on the footpath that you can check out here: https://www.youtube.com/watch?v=K3N13eWwMeE). I guess the moral of the story is that 911 should not be plan B. It should only be considered after plans A-Z have been ruled out.
- Have a well-stocked first aid kit
- Don’t panic
- Take time to think things through
- Use 911 for emergency situations only
Gear:
This is a topic that I could really geek out on but for the sake of keeping this reasonably concise I’ll only touch on the most important aspects. There are checklists for both gear and first aid kits available here: https://riverandtrail.ca/river-trail-talk/hiking-checklists-for-the-gear-you-actually-need/, and there are some great posts on choosing gear here: https://riverandtrail.ca/river-trail-talk/how-to-choose-hiking-boots/, https://riverandtrail.ca/river-trail-talk/how-to-choose-a-sleeping-bag/, https://riverandtrail.ca/river-trail-talk/choosing-a-backpacking-stove/. Of course, we are always happy to chat about this stuff and answer any questions if you stop by the store. The first and most important piece of gear is footwear. A boot is still recommended for the additional ankle support and the protection it offers. It should be comfortable and broken in. Take your time choosing a boot. What works for your buddy may not work for you. Feet come in all shapes and sizes and finding the right fit is not something that always happens with the first pair you try. It’s also a good idea to bring in the sock or type of sock you’ll be wearing when trying on new boots. Pairing a great boot with a good hiking sock, preferably merino, will ensure your feet are happy and comfortable. You will also need to prepare for inclement weather so be sure to have proper rain gear and quick dry clothing. Cotton should be left at home. Although comfortable, cotton holds moisture and will rob you of body heat if you get wet or even sweaty. It takes a very long time to dry and tends to be heavier than synthetic or wool options. Nylon, Polyester or wool are great choices and are still likely something you can find in your existing wardrobe. Make sure to pack warm layers, extra socks and a toque, even in summer these items are important to have. You’ll appreciate them on cooler or rainy nights. Your sleep situation should be warmer than the expected lowest temperature and be well protected from wetness. a multi-tool, lighter, and waterproof matches or a flint should be kept handy and be sure you have an emergency blanket, water purification tablets and a whistle on you as well. I mentioned the map earlier when discussing topography, but I didn’t discuss the importance of knowing how to use it. Brush up on your compass skills if you need to and keep track of where you are. Your GPS will be an asset, but you shouldn’t rely on it solely. Whatever you decide on in terms of shelter, whether it’s a tent, hammock or bivy, be sure that you have tested it for waterproofness and that it can withstand the weather conditions you’ll be exposed to. When choosing a tent or hammock weight will be a consideration but ultra-light options come at a cost to durability and are not always the right choice in every situation. Plan to have enough food for an extra day and always have plenty of purified water. I like to refill often in case I reach a source that is dry or unusable for some reason.
- Gear should be well suited to the temperature and terrain you are hiking in
- Use well-fitting and appropriate footwear
- Wear quick drying clothing and dress in layers
So multi day hiking is a ton of fun and can be a very satisfying and safe experience with a little preparation. There are more discussions on River and Trail Talk and I highly suggest getting onto the Fundy Footpath Dobson Trail Facebook page. There is some great information there and some good stories too. So, get outside and have some fun!!


